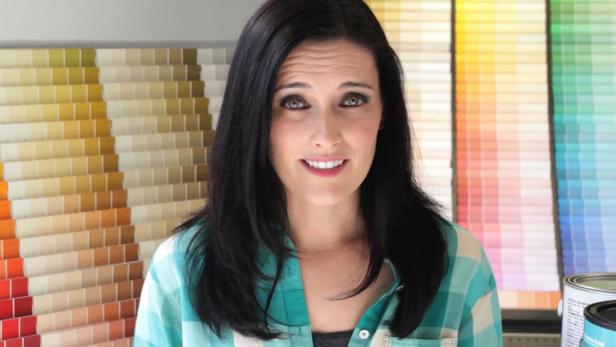
The Top 10 Ways to Paint Like a Pro
The Top 10 Ways to Paint Like a Pro
For a professional-looking paint job, do what the experts do.
Any cracked, flaking, or peeling areas need to be lightly sanded or scraped (and then thoroughly rinsed) before applying new primer and paint, because the weight of the new coat will pull the old paint loose. “You’ll just end up wasting your time and money if you don’t tackle that first,” says Tom Lee, Senior VP of Consumer Marketing for Behr. Greasy spots may also need a bit of washing with soap, followed by a rinse with clean water. Otherwise, give the walls a quick wipe-down with a damp cloth so that paint will have a clean, dust-free surface to stick to.

If you’re splurging on great paint, you definitely don’t want to pinch pennies on the application. Good brushes and roller covers give excellent coverage so that you don’t waste time and paint on re-application, and high-end painter’s tape is the real deal when it comes to sealing out drips and blurs.
The more texture your walls have, the thicker the nap you’ll want on your roller cover so that it can reach into crevices and give complete coverage. But if you go too thick, you might actually create texture where you don’t want it, so be prepared to give your salesperson details about what you’re painting.
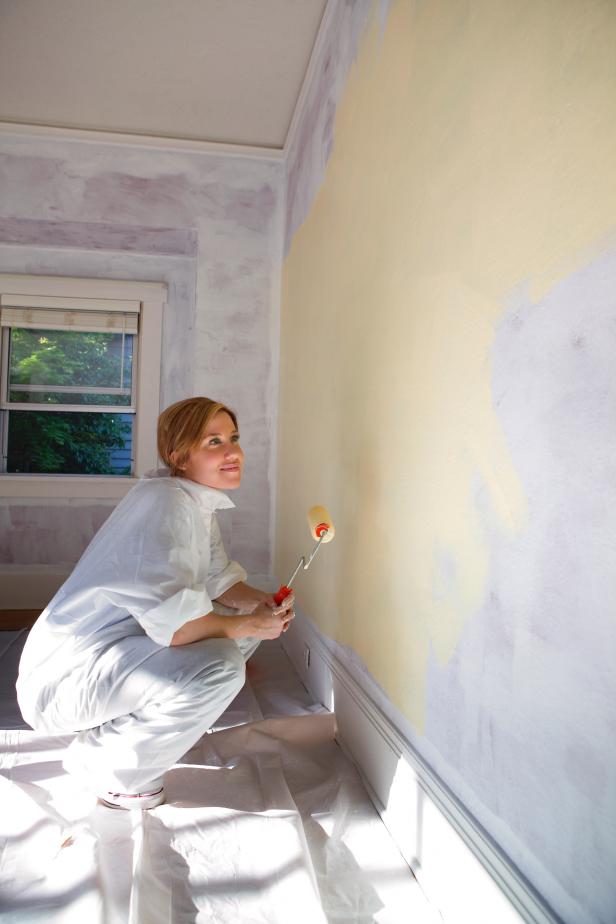
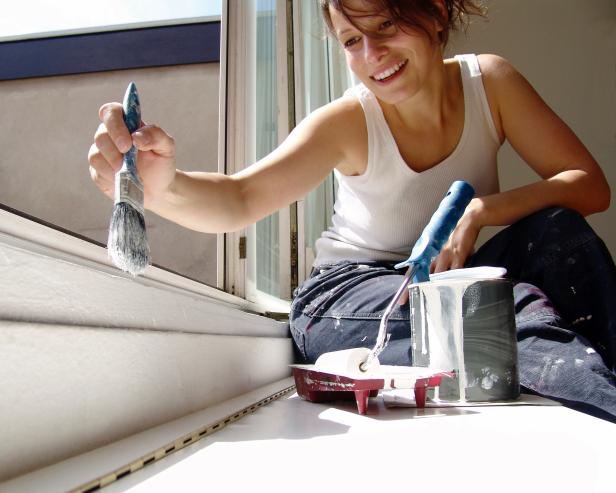
You will never regret the time you spend covering floors, furniture, and hardware before you begin a paint project. Drop cloths are a must, and small plastic sandwich bags secured with tape are an easy way to protect doorknobs.
If you’re impatient, you’ll be tempted to skip this five-minute step, but don’t.
Paint-and-primer combinations are fine if you already have a clean, smooth surface, but if there are any issues with the wall or it’s been more than eight years since you last painted, bite the bullet and go with a separate primer. If you need to cover an especially challenging surface (say, glass or high-gloss paint), use a bonding primer such as Benjamin Moore’s Insl-x Stix Waterborne Bonding Primer or KILZ Adhesion Interior & Exterior Bonding Primer.
Get your salesperson to help you with a realistic estimate of how much paint you’ll really need so that you can buy it all at once. Then, instead of using one gallon at a time, combine all the paint into one large container and mix it thoroughly. This is known as “boxing” your paint, and it keeps your color consistent from beginning to end.
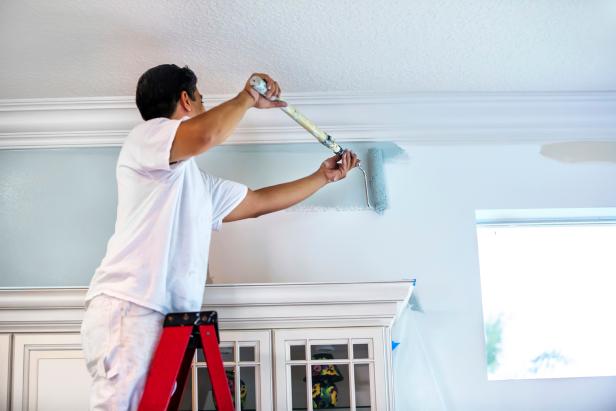
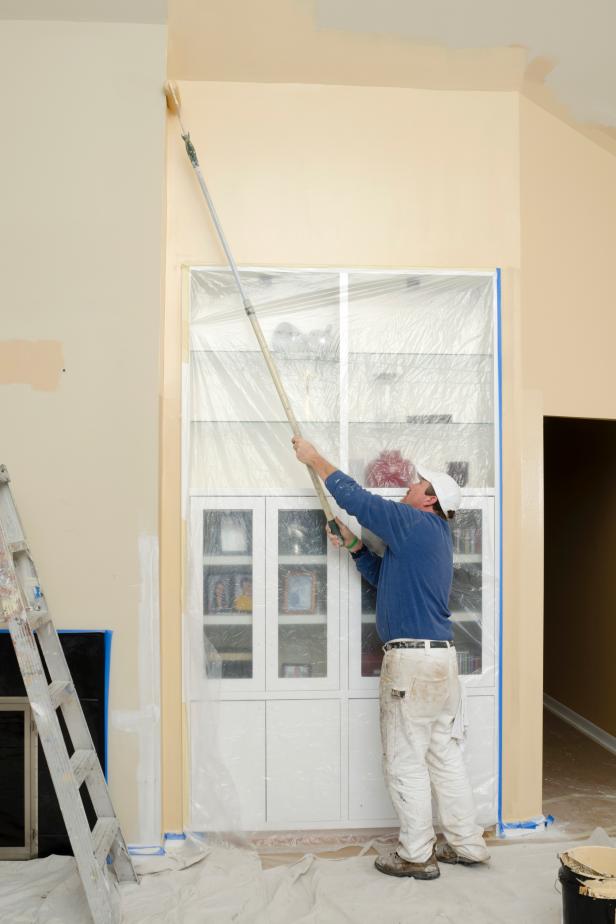
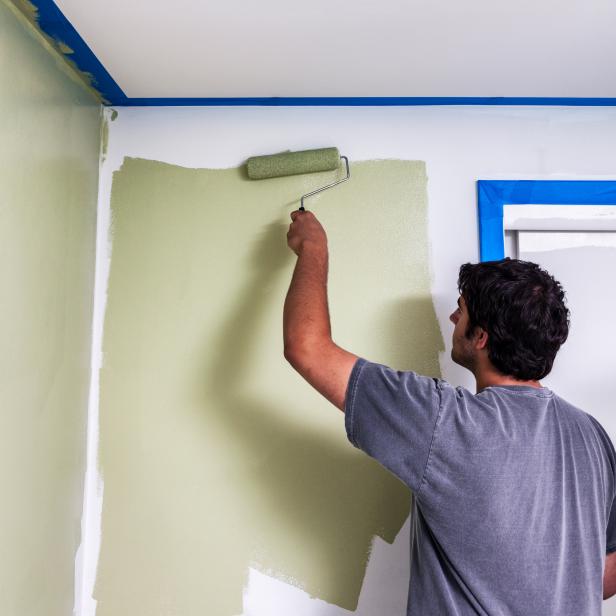
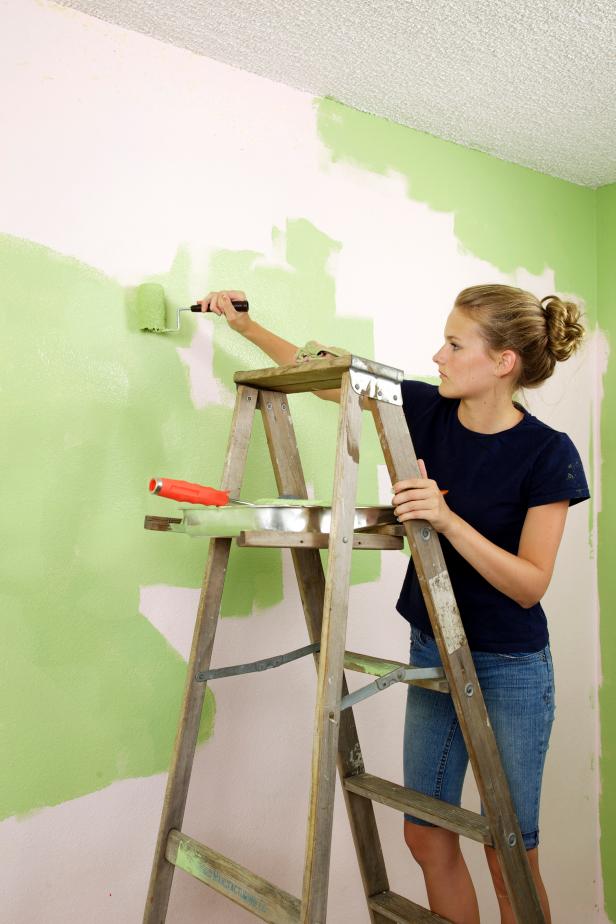
Today’s premium paints flow on easily, and you’ve already chosen a good roller cover (right?), so there’s no need to use much pressure. Be sure to use an extension pole so you can reach the maximum amount of area with the least effort — and without straining your back.

After you’ve cut in your edges at the ceiling and baseboard using a brush, use your roller to apply paint from the ceiling downward. Amateurs often have telltale drips and spatters at the end of a paint job, but pros paint right over their mistakes as they work their way down the wall. Once an area starts to dry, it’s best to leave it alone. Going back over it can leave marks and color streaks in the paint’s surface.
15 Painting Mistakes to Avoid
If you want your paint job to be flawless, avoid these amateur moves.
Skipping prep time
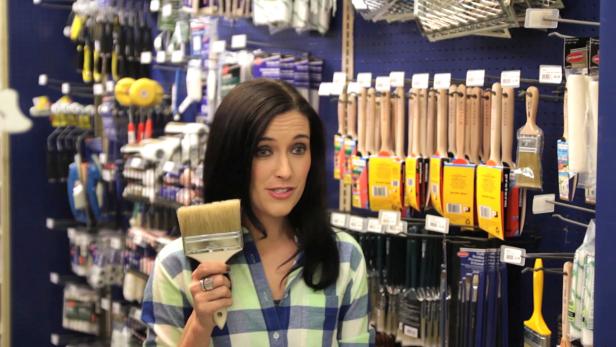
Skimping on brushes and roller covers to save money
Using masking tape instead of real painter’s tape
Going without primer

Natalie Sheedy; Natalie Sheedy Interiors
Using flat paint in a high-traffic area
Which Paint to Use in What Room 02:22
Learn what type of paint you should use in every room.
Painting over high-gloss paint without sanding

Plunging your brush too far into the paint
Painting aimlessly
Painting over wallpaper with water-based paint
Skipping cleanup
Paintbrushes and Applicators 02:28
Before you start painting, learn what type of brushes and rollers you should use.
NOW VIEWING
How to Prepare a Painting Kit
Before you begin a painting project, be prepared by putting together a “painting kit.”
INTERIOR PAINTINGINTERIORTOOLS

- A typical painting kit includes patching paste, a putty knife, a drop cloth, plastic gloves, paint thinner, primer and a paint can opener. Note: Do not open a paint can with a flathead screwdriver, as this can damage the lid.
- Be sure to purchase plenty of painter’s masking tape, assorted paintbrushes and a paint roller and roller cover. It would also be helpful to add an extension bar to your kit. It will help you reach the ceiling and will allow you to stand away from the wall to prevent spatters of paint on your clothes.
- The paint kit should include a paint pot and a roller tray with a disposable liner. If you plan to paint a large area, include a 5-gallon bucket with a screen grid for removing excess paint from the roller.
- No paint kit would be complete without a multipurpose paint tool, which can be used to clean caulk, pull nails, clean roller covers, apply putty or glaze, scrape paint and drive nails. Finally, be sure the kit includes safety glasses to prevent paint spatters from getting in your eyes.
- When selecting paintbrushes, choose nylon- or synthetic-bristle brushes for use with latex paint and natural-bristle brushes for oil-based paints, stains and varnishes. Paint-roller covers come in different naps and textures. Unless you plan to apply texture to the wall, use shorter naps for smooth surfaces and longer naps for textured surfaces.
- Instead of dipping the paintbrush directly into the paint can, use a paint pot, which is wider than a standard paint can. When loading the brush, dip half the length of its bristles into the paint. Slap the brush against the side of the pot to remove excess paint, and remove the brush. Hold the brush up at an angle to hold the paint. As you apply the paint to the wall, the friction will draw paint from the brush.
- Drill holes in the paint stick to help mix paint more thoroughly. To keep paint from drying in a half-empty can, fill any air space by dropping old golf balls into the can. A common problem known as “hatbanding” occurs when painters use a paintbrush for cutting in and a roller to apply the rest of the paint, thus producing a different texture along the ceiling and trim. To prevent hatbanding, roll the paint as close to the cut-in areas as possible.
NOW VIEWING
How to Prep Walls Before Painting
How to prepare walls before starting your next painting project.
INTERIOR PAINTINGPAINTING WALLSINTERIORWALLS
Prepping Walls for Painting
- A good idea is to remove furniture from the room altogether, if possible.
- Remember to wear safety goggles and older clothes in case the paint splatters.
- Dust and clean the walls. For most surfaces, use a towel or a vacuum cleaner.
- When painting a bathroom or kitchen, wash the walls with a solution of approximately three teaspoons of laundry detergent to one gallon of water.
- Scrape any cracked or flaking paint with a paint scraper. For other small imperfections on the wall such as plaster bumps, smooth them away with sandpaper. Use muscle power with a piece of sandpaper stapled to a sanding block, or use an electric sander.
- Materials to have on hand when getting ready to paint: primer, paint-can opener, stir sticks, roller covers (close nap on a rolling cage, large nap without rolling cage), paintbrushes (one for latex paint and one for oil-based paint), paint tray, gloves, drop cloth and an extension pole for the roller.
- A high-quality primer will help to hide any small imperfections on walls. Use a good water-based primer on new drywall. Choose an oil-based primer for walls that have heavy stains from water or smoke damage, or if the wall has paneling.
- Before painting, protect wall sconces and wall trim with painters tape.
- Start in the corners of the wall and up near the ceiling, “cutting in” the paint with an angle brush.
- With a small brush, apply the paint around trim and in the corners of walls where your larger brush can’t reach.
- A great tip is to do a “W” pattern to paint walls. Start in the corner of a wall and roll on a 3′ by 3′ “W”; then fill it in without lifting the roller. Repeat until the section is finished. This helps hide seams and any places where the roller has been lifted and put back on the wall again.
- The best way to choose a color is to try it out first. You can never make a good decision based on looking at the color swatch in the store. Take it home and tape it to the wall to see how it works within the space and with your room’s lighting. The swatches don’t always reveal the actual color when it dries. You can test a few colors of paint on a spare piece of wood and place it against the wall.
NOW VIEWING
Choosing Paintbrushes and Rollers
Choosing the right paint brush or roller is essential to a good paint job.

NOW VIEWING
The Best Paint for Your Money
Painting project on your to-do list? Get tips on how to get the best paint for your money.

Paint with higher levels of titanium provides much better coverage, or “hideability.”
Paint Colors and Finishes
How to Choose a Wall Color
Don’t be intimidated by color — picking the right shade is easy with these professional tips.
“Color is a powerful tool,” says interior designer and author Kerrie Kelly. “It can accentuate architectural details as well as direct traffic and create flow in your home.” But how do you choose the color that’s right for a given room?

Tim Lee, Tim Lee Photography

Walt Roycraft, Walt Roycraft


G CRAWFORD

Photography provided by Donna Puzifera

Nancy Nolan

Brian Patrick Flynn
Steven Holmes
NOW VIEWING
How to Select Exterior Paint Colors for a Home
Your home’s exterior is the way you greet the world — choose a color wisely with these expert tips.
EXTERIOROUTDOOR SPACESPAINTSCOLOR

BEHR

BEHR
- Plan to spend a little more money. Investing in a premium paint such as Behr Marquee Exterior Paint & Primer in One is a wise choice. You don’t want to be climbing up a scaffold again anytime soon — or paying for someone else to do it — so paint needs to cover well, resist stains and stand up to weather.
- Think about your permanent materials. If you have an existing brick or stone foundation, patio, or accents, work with their underlying tones as you’re choosing a paint shade. If you’re stuck, try pairing opposites in terms of color temperature. For example, if you have a warm red brick foundation and you want brown for your exterior paint, choose a taupe with cool gray/blue undertones instead of a peachy tan.
- Take advantage of technology. You can usually bring in a sample of permanent materials to the paint store for computer color matching. Behr also offers an online tool called that lets you choose an initial color, recommends matching/coordinating colors, and helps you experiment with color combos on images of a home exterior so you can imagine the finished look.
- Don’t forget the trim. If you want something other than the usual white, try your exterior color just a few shades lighter for a subtle, elegant effect.
- Ease in with swatches. Buy test sizes of the paint colors you’re considering and paint some brush-outs on the exterior. Be sure to put some color on both the north and south sides of the house, where lighting can differ dramatically, and near any trim you’re coordinating with. Visit your paint samples at different times of day to get the best idea of how the finished product will look.
- Neutrals:
Shaker Beige HC-45, Alexandria Beige HC-77, Pashmina AF-100 - Grays:
Stonington Gray HC-170, Thunder AF-685, Storm AF-700 - Blues and Greens:
Phillipsburg Blue HC-159, Guilford Green HC-116, Soft Fern 2144-40, Santorini Blue 1634, Wickham Gray HC-171
- Trim:
Navajo White 947 (also OC-95), Frostine AF-5, Simply White OC-117 - Front Doors:
Lucerne AF-530, Flint AF-560, Breath of Fresh Air 806, Black Satin 2131-10, Silhouette AF-655, Super Nova 1414, Pomegranate AF-295

Exterior Paint Selection
Painting the exterior of your house may be a job for professionals, but with some basic knowledge and motivation, doing it yourself could save you a lot of cash.
EXTERIOROUTDOOR SPACESPAINTS

- Oil-based paints are very durable and water-resistant. They result in hard finish and are often used by professional painters. Use an oil-based if the surface you are painting has already been painted with oil-based paint.
- Stir oil-based paint frequently, as the oil in these types of paint tend to separate quickly.
- If using oil-based paint, be sure to use a brush or roller specifically designed for use with oil-based paint.
- Latex exterior paints have undergone many improvements, and some can be as durable as oil-based. They are also considerably easier to work with. Be sure, however, that you select an exterior latex for use on the outside of your home, not the same latex used on interior walls.
- Latex is easy to apply, dries quickly, is durable and is resistant to the effects of direct sunlight. Cleanup is easy, and just requires water.
- Acrylic latex is the highest-quality latex paint. It will cover just about any building material including masonry and properly primed metal.
- Important: Never put a new coat of latex over an old coat of oil-based paint. It will almost certainly peel.
Exterior Painting Preparation
When painting the exterior of a house, learn these valuable tips that can save you time by preparing properly for the project.

EXTERIOR PAINTINGEXTERIOROUTDOOR SPACESPAINTS
Leave a Reply
Want to join the discussion?Feel free to contribute!